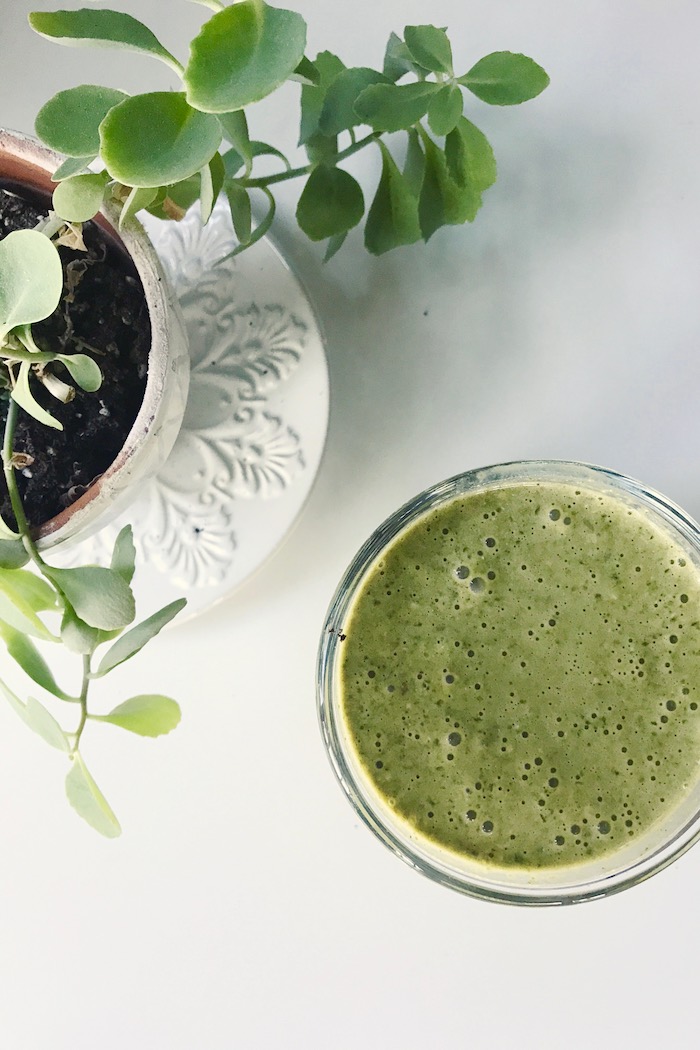
As a lover of artsy photographs and engaging social media content, I’ve come to grow really fond of the overhead photograph! When it comes to clothes, accessories, jewelry, paper goods, makeup, and just about any other still life subject, the popular term for this type of photograph is “flat lay.” When photographing setups that are very symmetrical and carefully laid out, this type of photography is called “knolling.” If food is the subject, I simply call that “delicious.” No other term needed! 😉
I was approached by Aura Frames about sharing some tips when it comes to taking photos with my iPhone, since the good camera isn’t always accessible when great photo ops arise! My tips are fairly simple, but hopefully helpful for those of you who are looking to vary up your social photos a little bit with a different perspective!
(1) Be sure to hold your phone parallel with your subject. Holding it even slightly angled can throw off the vibe you’re looking to achieve with your overhead photo. Thankfully, if you do get a little bit off, there are tools in my two favorite editing toolboxes (VSCO and the Instagram editing tools) that allow you to straighten out your subject and correct the off angle. In Instagram, while editing your photos, click the “adjust” setting, then play with each of the three options you have. Those are very helpful! In VSCO, when you click on the adjustment button (the one that looks like an equal sign with two little marks on it), you have the option to adjust the X-skew and Y-skew. These do the same thing as the adjustments in Instagram. VERY helpful!
(2) Brighten up! I brighten photos before posting them about 99.9% of the time. It is rare that I don’t up the brightness and adjust the contrast a little bit to achieve the look I’m going for.
(3) If possible, don’t zoom. The quality of your photo stays much more in tact when you move your actual device closer to or farther away from the subject.
(4) Adjust the temperature. This is huge!!! I think this might have the largest impact on how the photo comes out in the end. If a photo is taken indoors, or under artificial lighting, it is almost always too warm/orange. Cool that baby off! If it is taken outside right when the sun is going down but where the actual sun isn’t present in your photograph, I find that it is usually too cool/blue. Warm that puppy up! I suggest always playing with the temp before publishing a photo. A slight adjustment is almost always called for!
(5) Don’t edit out the real life that might creep into your photo! Is everyone’s head really still except for that one toddler who decides to get up right as you take the photo? Don’t crop that blur out! Leave it there! Or leave that little hand that creeps in trying to take one of the items out of your flat lay. There is nothing more relatable, endearing, and just real than a glimpse of life and movement.
(6) In slight contrast to number 5… Don’t be afraid to stage just a little! Think your photo would look a hundred times better with a shot of greenery in there? Pull over a plant! Why not? Plants are pretty. The best overhead photos, actually, are the ones that combine 5 and 6! Staging interrupted by real life. Because doesn’t that sort of describe just a little part in all of us? 🙂
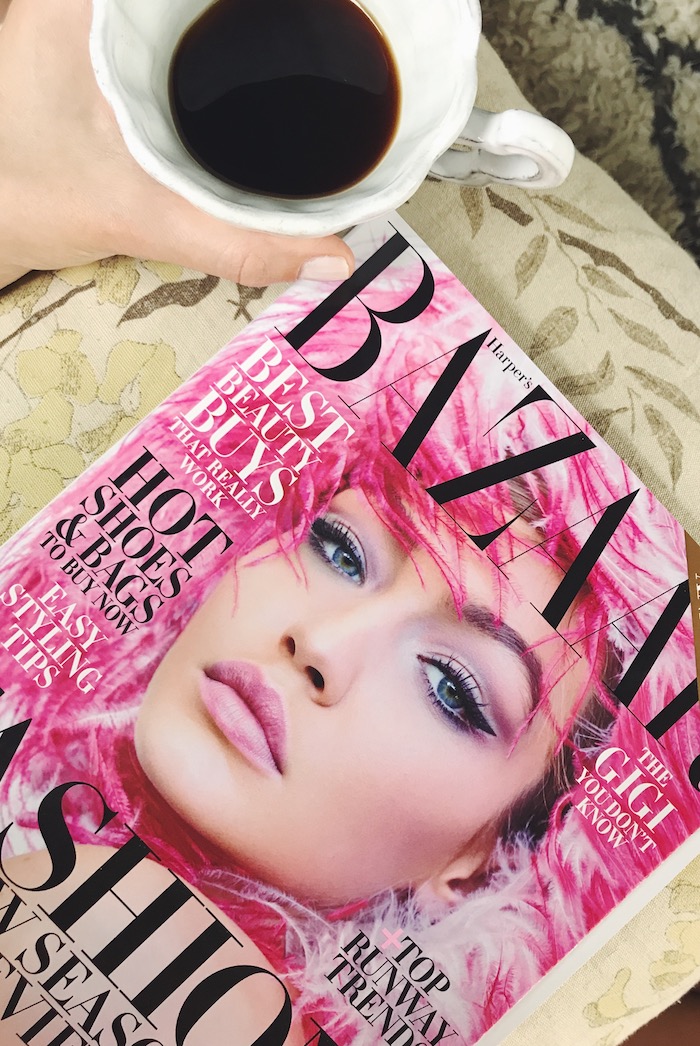
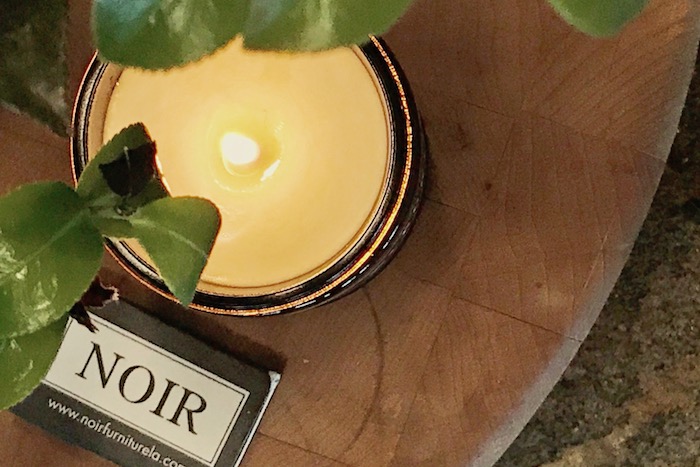
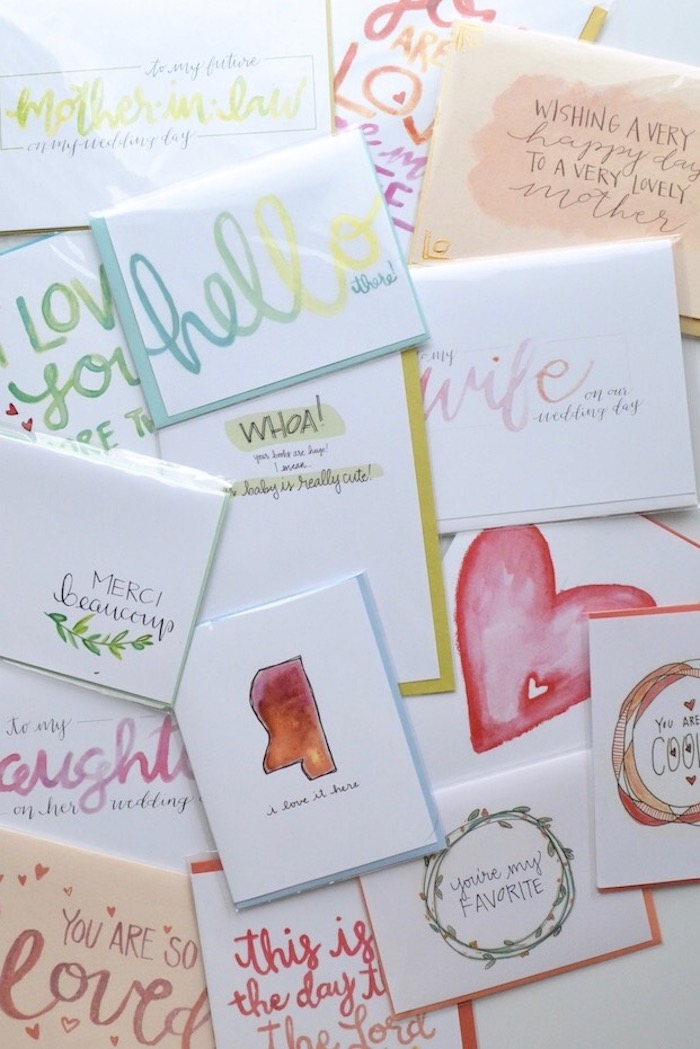
Here are a few examples of some of my favorite overhead photos I’ve taken with my phone. I hope they leave you inspired!


(This book, Home by Carson Ellis, is currently my kids’ favorite! We LOVE this book! Highly recommend.)
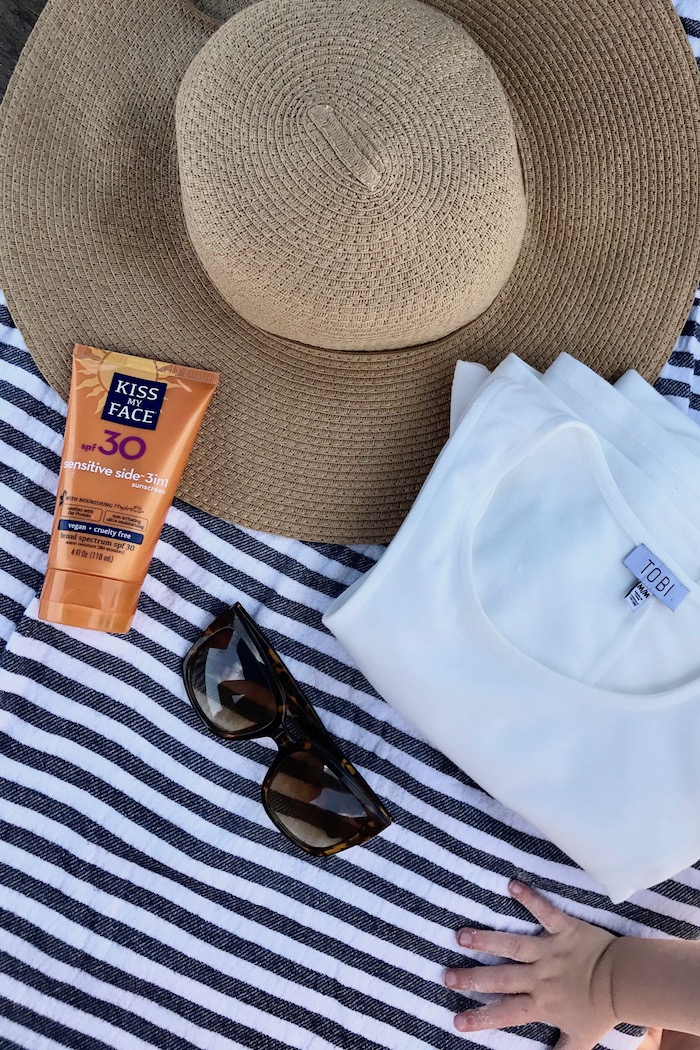

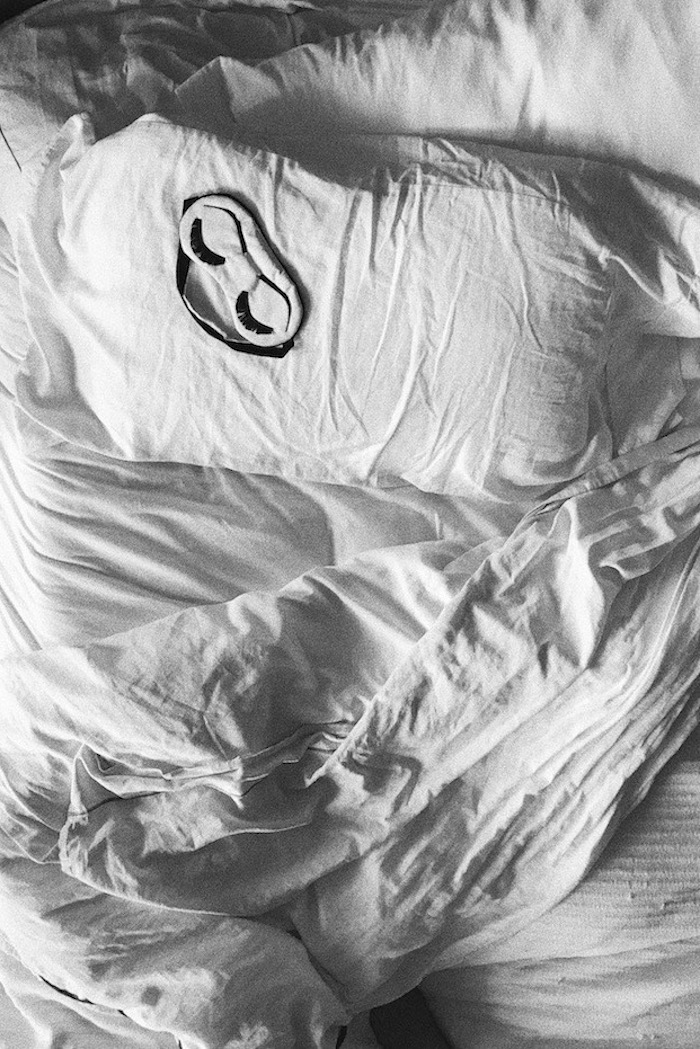


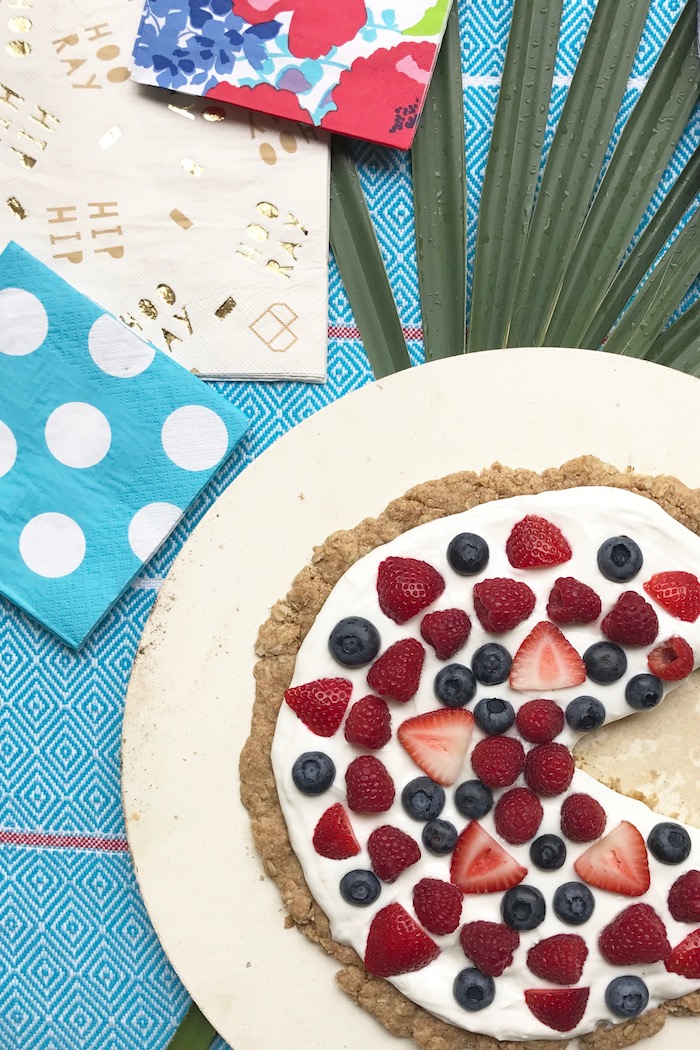


Do y’all have any tips you try to keep in mind when taking photos on your iPhone? I’d love to hear! I’m always looking to up my game!
Once you get a good handful of photos that you’re proud of, you might want to consider having them all in one place where you can enjoy them! Aura frames display photos straight from your phone, and the selection is customized by you via the Aura app! Isn’t that so cool? On top of that, the frames themselves are very sleek and chic.
Thanks so much for dropping by today! Y’all know it means so much to me! 🙂 Hope you had the best weekend and that your week is off to a great start! XOXO!
This post was inspired by Aura Frames. All opinions are my own.


Love all of your tips! Your photos always look great.
Nikki
thefashionablewife.com
Thanks girl! Back at ya! 🙂